


Table of Contents
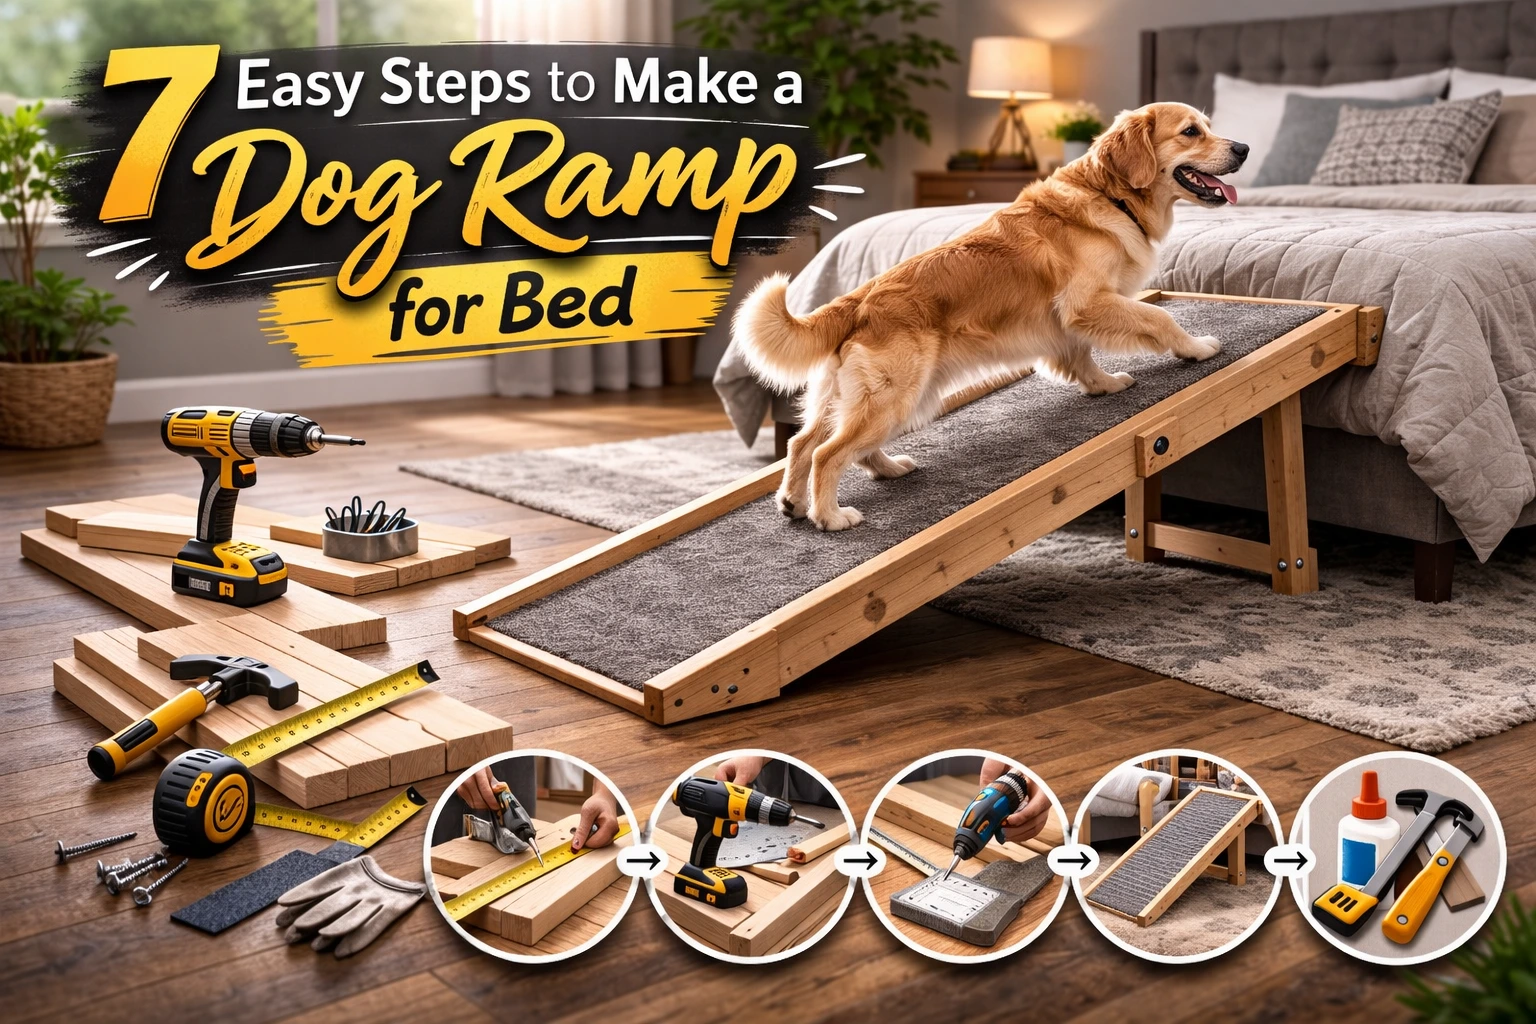
ToggleIf you want to make a dog ramp for bed , you are already thinking about your dog’s comfort and safety. Jumping onto a high bed can put stress on a dog’s joints, especially for puppies, small breeds, senior dogs, or pets recovering from injury.
A simple ramp allows your dog to climb onto the bed safely without jumping. It also reduces the strain on their hips, knees, and spine. For pet owners who share their sleeping space with their dog, installing a ramp can make bedtime easier for both of you.
In this guide, we’ll walk through how to make a dog ramp for bed using simple tools and affordable materials.
Why a Dog Ramp Is Helpful
Dogs love being close to their owners, and many enjoy sleeping on the bed. However, repeatedly jumping up and down can lead to long-term joint problems.
A dog ramp helps by:
- Reducing stress on joints
- Helping older dogs access the bed safely
- Preventing injuries from jumping
- Making bedtime easier for small breeds
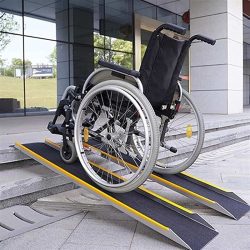
Just like accessibility ramps help People of Determination move safely between spaces, pet ramps help animals navigate height differences more comfortably.
Step 1: Measure the Bed Height
The first step when planning to make a dog ramp for bed is measuring the distance from the floor to the top of the mattress.
These measurements determine the length and slope of the ramp.
Key measurements include:
- Bed height
- Ramp width
- Ramp length
A comfortable ramp should have a gentle incline. If the ramp is too steep, your dog may struggle to use it.
For most beds, a ramp length of 3 to 4 feet works well.
Step 2: Choose the Right Materials
Before building your ramp, gather the materials you need.
Common materials include:
- Plywood board
- Measuring tape
- Saw
- Screws
- Drill
- Sandpaper
- Carpet or non-slip grip tape
- Paint (optional)
Plywood is commonly used because it is durable and affordable. The board should be at least ½ inch thick so it can safely support your dog’s weight.
If you have a large breed dog, consider using thicker wood for additional stability.
Step 3: Decide the Ramp Style
There are several styles you can choose when building a dog ramp.
Some popular options include:
Straight ramp
Simple and easy to build.
Foldable ramp
Convenient for storage.
Decorative ramp
Designed to match your bedroom furniture.
When deciding the design, consider:
- Your dog’s size
- The height of your bed
- Available bedroom space
- How often the ramp will be used
A longer ramp is usually better for senior dogs or pets with joint issues.
Step 4: Cut the Wooden Boards
Once the measurements are complete, cut the plywood to the desired size.
A typical ramp may be:
- 3–4 feet long
- 16–20 inches wide
Use a circular saw or jigsaw to cut the boards carefully. After cutting, smooth all edges with sandpaper.
Smoothing the edges prevents splinters and keeps the ramp safe for your pet.
Step 5: Build the Ramp Frame
Next, build a sturdy frame that supports the ramp.
To create the frame:
- Place two long boards parallel to each other.
- Attach shorter boards at both ends to form a rectangle.
- Add internal supports for strength.
The frame helps distribute weight evenly and prevents the ramp from bending.
After building the frame, attach the plywood ramp surface using screws.
Step 6: Add Stability to the Ramp
To prevent the ramp from sliding, add a base support under the ramp.
You can secure the base by:
- Attaching additional wooden supports
- Adding rubber pads underneath
- Installing bolts for extra stability
This step ensures the ramp stays firmly in place while your dog uses it.
Stability is extremely important, especially for larger dogs.
Step 7: Install Non-Slip Carpet
One of the most important steps when you make a dog ramp for bed is adding a non-slip surface.
Dogs need traction while climbing the ramp.
Good options include:
- Carpet
- Rubber grip tape
- Textured flooring material
Cut the carpet to match the ramp surface and secure it using adhesive or staples.
Make sure the carpet is smooth and firmly attached so your dog does not trip.
Safety Tips When Building a Dog Ramp
When constructing a ramp, always prioritize safety.
Helpful tips include:
- Keep the ramp angle gentle
- Use non-slip materials
- Ensure the ramp supports your dog’s weight
- Sand rough edges
- Test stability before letting your dog use it
Accessibility design principles used for People of Determination often focus on gentle slopes and stable surfaces — the same concepts apply when building a ramp for pets.
Related Accessibility Solutions
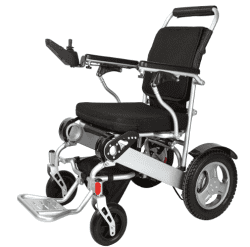
If you are interested in accessibility ramps or mobility solutions, you may also explore:
- Wheelchair ramps
- Mobility equipment
- Accessibility vehicle modifications
- Electric wheelchairs
These solutions follow similar principles of safe ramp design and accessibility.
Final Thoughts
Learning how to make a dog ramp for bed is a practical and rewarding DIY project. With a few basic materials and tools, you can build a ramp that protects your dog’s joints and improves their daily comfort.
A well-built ramp allows your dog to climb safely without jumping, reducing the risk of injury and making bedtime easier.
By choosing the right measurements, materials, and non-slip surface, you can create a durable ramp that your furry friend will use every night.
